
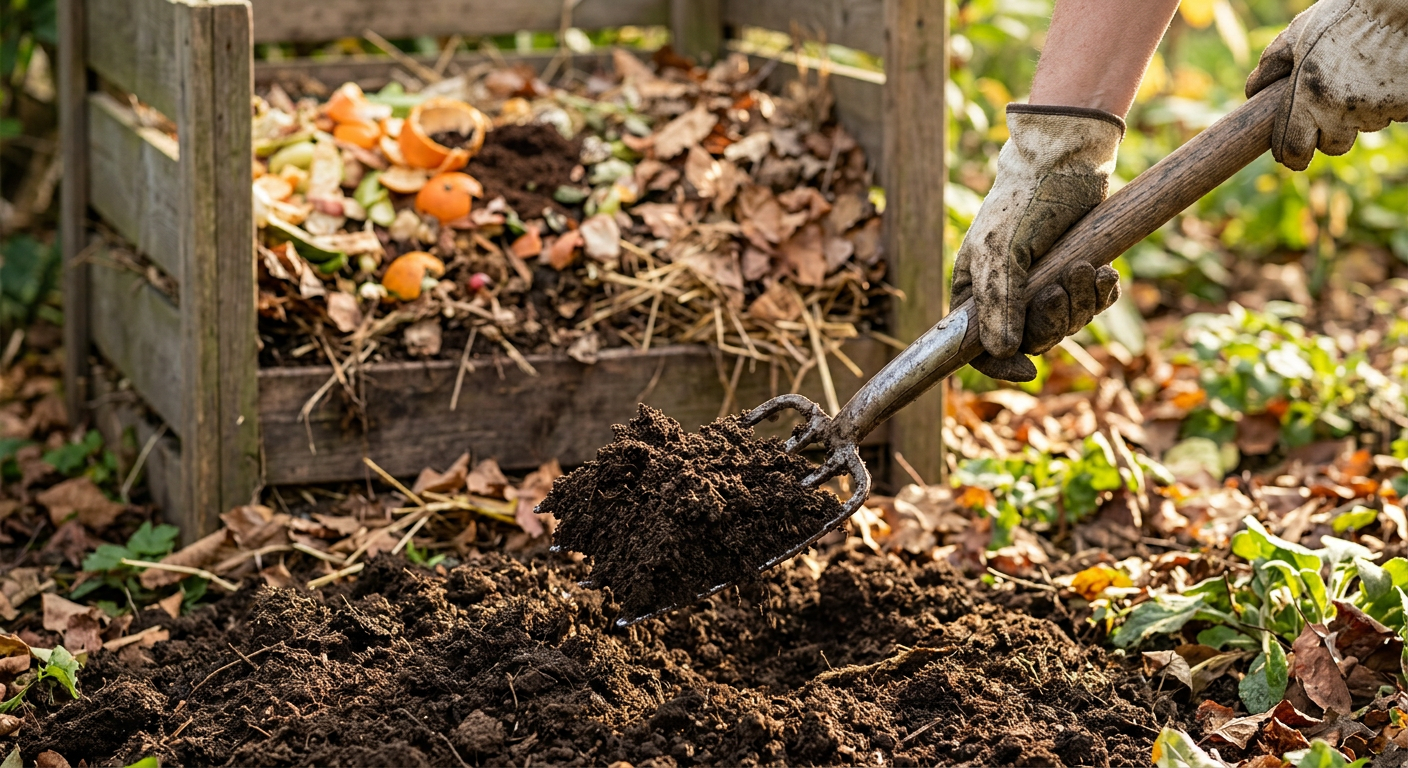
A simple, no-fuss guide to turning food waste into rich, free fertilizer for your garden.
Composting is one of the simplest ways to improve your garden while cutting down on household waste. Turning vegetable peels, coffee grounds, and yard trimmings into rich, dark compost sounds complicated, but the basic process is forgiving and works even for total beginners. Here’s how to get started.
Why Compost?
Finished compost improves soil structure, helps soil retain moisture, feeds beneficial soil microbes, and reduces the need for synthetic fertilizer. It also diverts food scraps and yard waste from landfills, where they’d otherwise break down without oxygen and release methane, a potent greenhouse gas.
The Two Ingredients: Greens and Browns
Every compost pile needs a balance of two types of material:
Greens (nitrogen-rich): vegetable and fruit scraps, coffee grounds and filters, tea bags, fresh grass clippings, eggshells.
Browns (carbon-rich): dried leaves, cardboard, shredded paper, straw, small twigs, sawdust from untreated wood.
A good rule of thumb is roughly two to three parts browns for every one part greens by volume. Too many greens and your pile turns slimy and smelly; too many browns and it breaks down very slowly.
What to Avoid
Skip meat, dairy, oily foods, and pet waste; these attract pests and can introduce pathogens. Also avoid diseased plants and weeds that have already gone to seed, since composting at home usually doesn’t reach temperatures high enough to kill off seeds or pathogens reliably.
Choosing a Composting Method
Open pile or bin: The simplest option. A simple wire or wood bin in a corner of the yard works well and allows for easy turning.
Tumbler composter: A sealed, rotating bin that makes turning quick and easy, and helps keep pests out. A great choice for smaller yards or beginners who want a tidier setup.
Worm composting (vermicomposting): Uses red wiggler worms to break down scraps indoors or in small spaces, ideal for apartments or anyone without outdoor space.
Building and Maintaining Your Pile
- Start with a browns layer at the base for airflow and drainage.
- Alternate greens and browns as you add material, roughly matching the 2:1 or 3:1 ratio mentioned above.
- Keep it as moist as a wrung-out sponge. Too dry and decomposition stalls; too wet and it turns anaerobic and smelly.
- Turn the pile every one to two weeks with a garden fork or compost aerator. This adds oxygen and speeds up decomposition significantly.
- Be patient. Depending on the method, pile size, and how often you turn it, compost can be ready in anywhere from two months to a year.
How to Know It’s Ready
Finished compost is dark brown, crumbly, and smells earthy, like fresh forest soil, not like rotting food. You shouldn’t be able to recognize the original scraps anymore. If you still see chunks of vegetable peel or eggshell, give it more time.
Using Your Compost
Mix finished compost into garden beds before planting, use it as a top dressing around existing plants, or blend it into potting mix for containers. A one- to two-inch layer worked into the top few inches of soil is usually plenty.
Final Thoughts
Composting doesn’t require special equipment or expertise, just a basic understanding of greens, browns, moisture, and airflow. Start with whatever bin or pile fits your space, be patient, and within a few months you’ll have a free, high-quality soil amendment made entirely from what would otherwise be trash.
Leave a Reply