
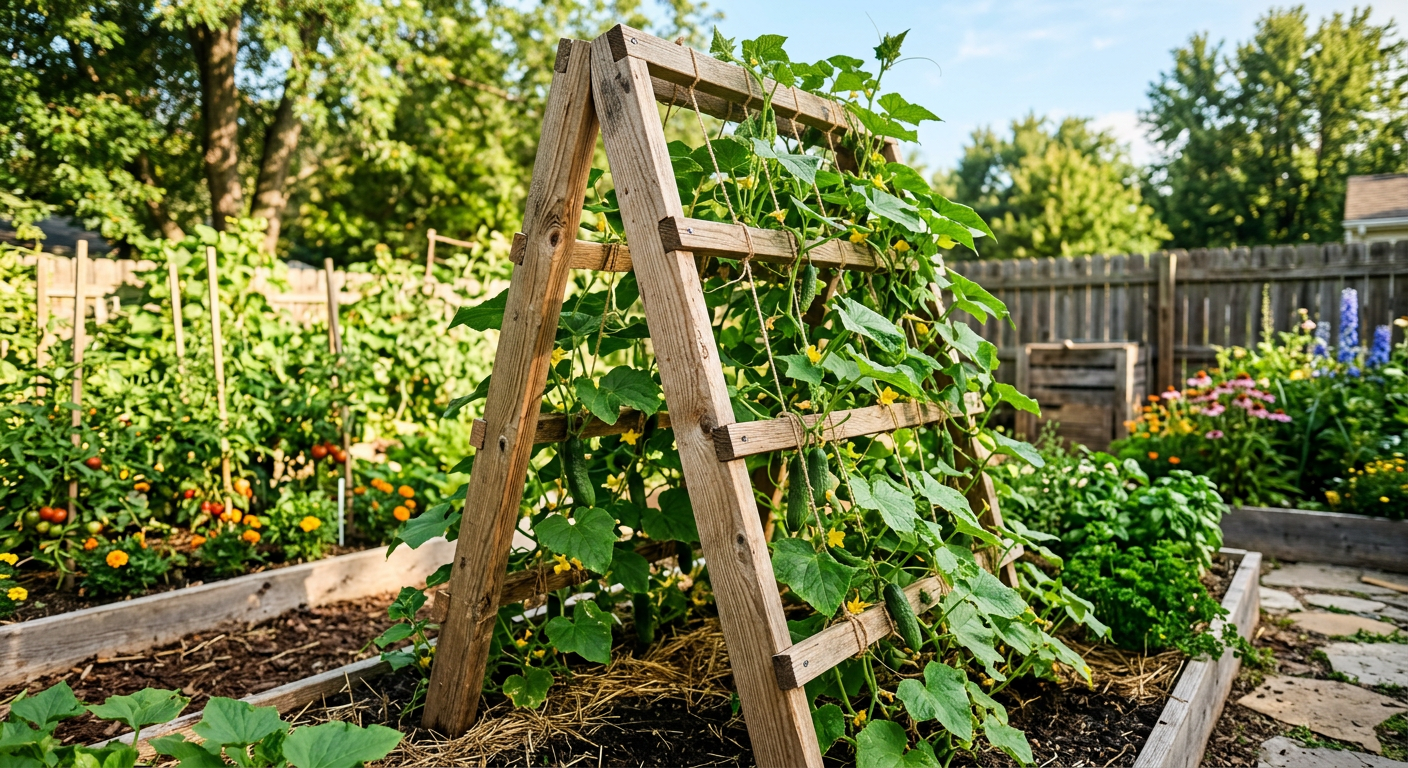
Give your cucumbers, beans, and flowering vines something to climb with an easy weekend project that costs less than a store-bought version.
A trellis is one of the most useful, and easiest, structures you can add to a garden. It lifts vining plants like cucumbers, pole beans, peas, and climbing flowers off the ground, improving airflow, reducing disease, making harvesting easier, and freeing up valuable ground space for other plants. You don’t need carpentry experience or an expensive kit; a sturdy, attractive trellis can be built in an afternoon with basic materials and tools.
Why Bother With a Trellis?
Letting vining plants sprawl across the ground isn’t just a space issue. Fruit and leaves left in contact with damp soil are far more prone to rot and fungal disease, and they’re an easier target for slugs and other ground-dwelling pests. A trellis solves all of this at once: better airflow around the leaves, cleaner fruit, easier spotting of ripe produce, and a garden that simply looks more intentional.
Choosing a Design
A-frame trellis: Two ladder-like panels leaned against each other and hinged at the top, forming a tent shape. This is one of the sturdiest and easiest designs for beginners, and it works especially well for heavier vines like cucumbers and squash.
Flat panel trellis: A single rectangular frame with a grid of twine, wire, or lattice, either leaned against a wall or fence or staked upright in the ground. Ideal for peas, beans, and flowering vines that don’t need as much structural support.
Teepee trellis: Several long stakes or bamboo poles tied together at the top, spreading out at the base like a teepee. A classic, simple option for pole beans and a popular choice for kids’ gardens because it’s fast to build.
This guide walks through a basic A-frame trellis, since it’s sturdy, reusable, and adaptable to almost any climbing plant.
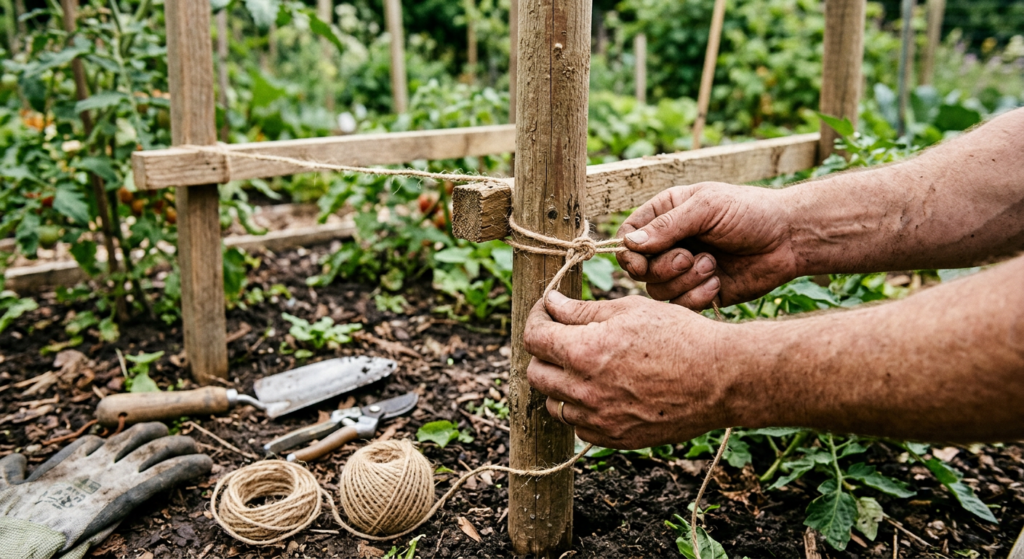
What You’ll Need
- 4 wooden stakes or 1×2 boards, roughly 6 feet long (2 pairs)
- 2 shorter boards or dowels for cross supports
- Garden twine, jute netting, or galvanized wire for the climbing grid
- A hinge, sturdy rope, or heavy-duty zip ties to connect the two panels at the top
- A staple gun (optional, for attaching twine or netting)
- A hammer or mallet
- A measuring tape and pencil
Most of these materials are available at any hardware store for well under the cost of a pre-made trellis, and untreated cedar or pine will hold up outdoors for several seasons.
Step-by-Step Instructions
1. Build the two side panels. Lay two of the long stakes parallel to each other, about 2 to 3 feet apart, and attach a shorter cross board near the top and another near the bottom to form a ladder-like rectangle. Repeat with the second pair of stakes to create two matching panels.
2. Add the climbing grid. Staple or tie garden twine, jute netting, or wire across each panel in a grid pattern with roughly 6-inch spacing. This is what the vines will actually grip and climb, so make sure it’s taut and securely attached.
3. Join the panels at the top. Stand the two panels up in an A-shape and connect them at the top with a sturdy hinge, thick rope, or zip ties, leaving enough flexibility to adjust the base width for stability.
4. Anchor the base. Push the bottom of each panel a few inches into the soil for stability, and consider adding a horizontal support board connecting the two panels partway down for extra strength, especially if you’re growing heavier plants like squash.
5. Position it over your plants (or plant beneath it). Place the finished trellis directly over young seedlings, or plant seedlings at the base of an already-installed trellis. Either way, gently guide the first vines toward the grid by hand; most climbing plants will take over on their own once they get a foothold.
Tips for Success
Install before plants get tall. It’s much easier to train young, flexible vines onto a trellis than to redirect mature growth that’s already sprawled across the ground.
Check plant weight before choosing materials. Lightweight vines like peas do fine with simple twine, but heavier plants like squash or melons may need wire or reinforced netting, and sometimes additional slings to support developing fruit.
Store it over winter. A well-built wooden trellis can last for many seasons if you bring it out of the weather during the off-season, rather than leaving it exposed to rain and snow year-round.
Angle it toward the sun. For an A-frame or flat panel trellis, orient it so the climbing side faces your main source of sunlight, ensuring good light reaches the leaves as they fill in the grid.
Final Thoughts
A DIY trellis is one of the best returns on effort you can get in the garden: a single afternoon project that pays off in healthier plants, easier harvesting, and more usable growing space for the rest of the season. Once you’ve built one, you’ll likely find yourself adding a second, or a third, for every vining plant that used to sprawl across your beds.
-
5 Signs Your Lawn Needs Overseeding (and How to Do It)
A thinning, patchy lawn isn’t a lost cause, overseeding is often all it takes to…
-
How Often Should You Really Water Your Lawn? A Season-by-Season Guide
The difference between a lush lawn and a stressed, patchy one often comes down to…
-
A Beginner’s Guide to Pruning: When and How to Cut Without Killing Your Plants
Pruning looks intimidating until you understand the basic rules, then it becomes one of the…

Leave a Reply